Planning your plum tree site
When picking a location for your tree, try to find a well-drained area with sandy loam soil. This soil type is the best for your plants, but as long as there is good drainage your tree should thrive. Place your tree in full sun for the best growth and production rate. Avoid frost pockets- trees may be damaged by unseasonable frosts.
Soil Prep for Your Plum Tree
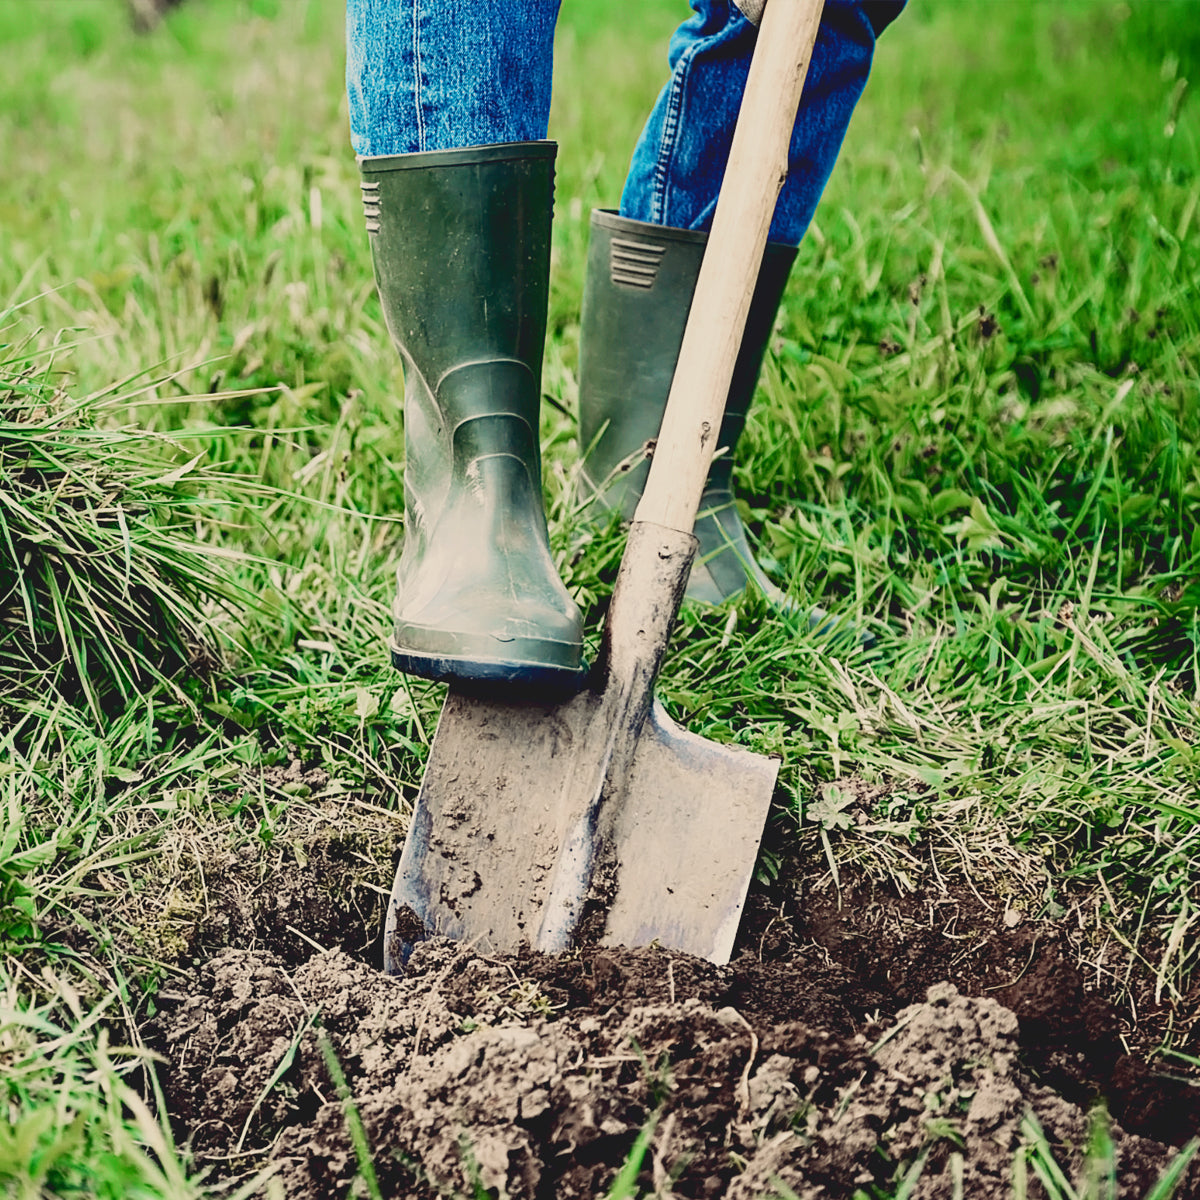
It’s time to start digging! First, you will need to dig a hole three times the width of the size of the pot, and just as deep as the root ball. Plums prefer slightly acid soil (pH 6.0-6.8) and thrive in lightweight loamy, well-draining soil. Plum trees grow and produce the best fruit in well-drained but moist fertile soil that is rich in organic matter, but tolerate a wide range of soils as long as water and nutrients are not limiting and soil pH is adequate. They like the soil to hold a good supply of water, especially when the fruits are developing in summer, but not so much water that the soil stays constantly soggy or wet, which can cause problems with the roots. They are tolerant of heavy clay soils if drainage is good. In soil with low fertility or compact clay it'll be worth your time to mix in some organic compost to the native soil. Spacing for plum trees should generally be 20 feet apart.
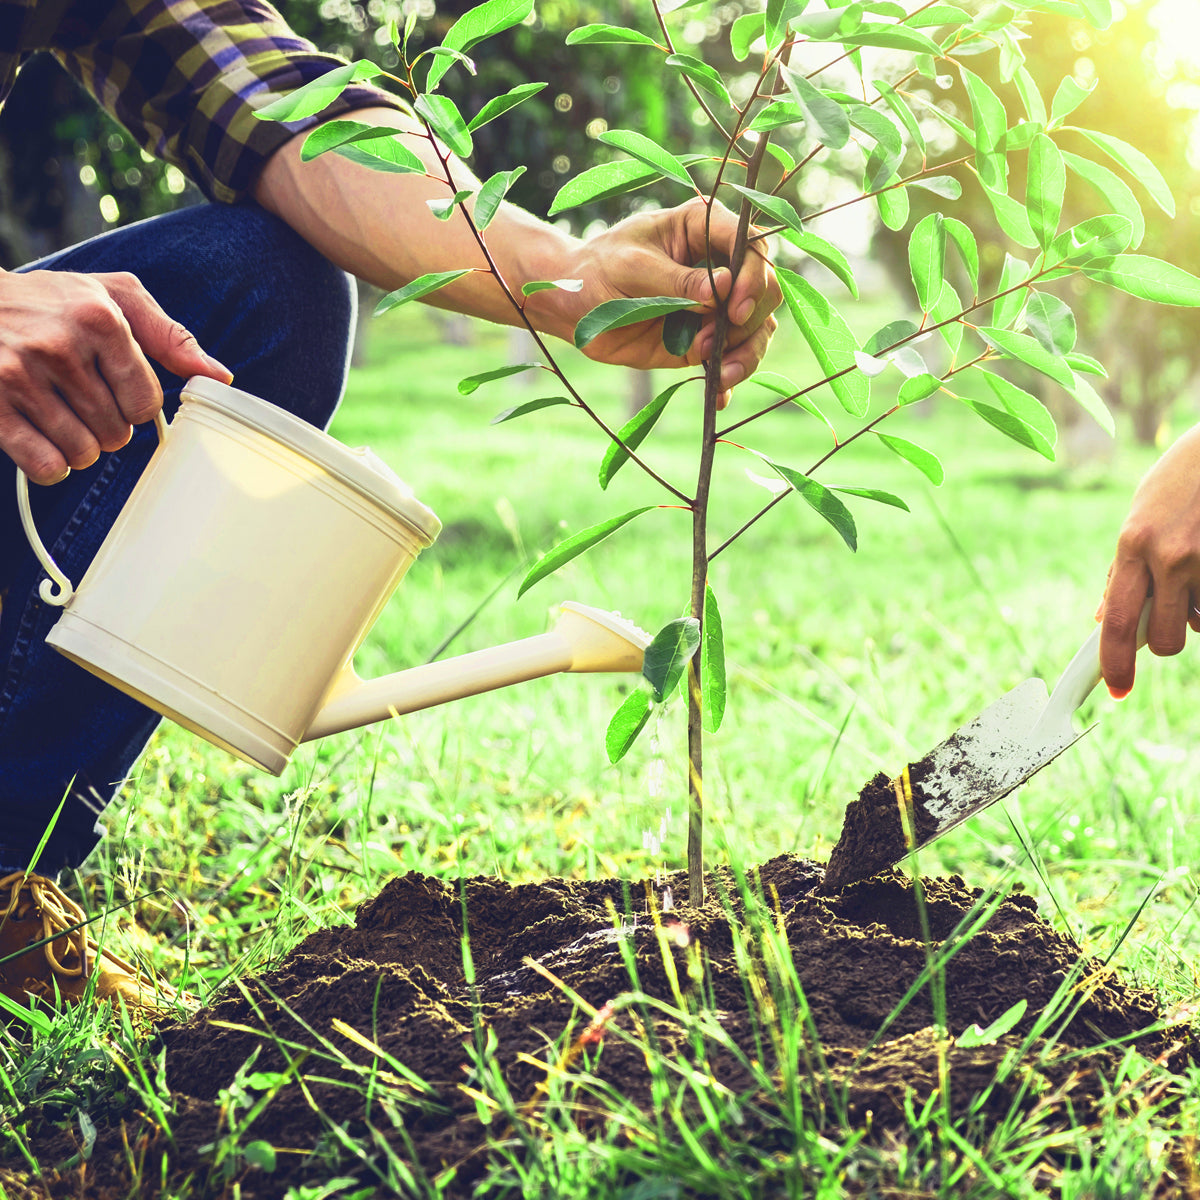
If desired, construct a water basin at the base of the tree about 36 inches in diameter. Mulch in the spring & summer time should be about 4-6 inches deep. Keep mulch a few inches away from the trunk of the tree. Good mulch for peaches is either wood chips or partially composted sawdust.
To protect your tree, please provide a 4 foot diameter weed and grass-free area. This will provide a water basin and minimize anything from taking water and nutrients from the tree. During spring and summer, 4-6 inches of mulch should be placed a few inches away from the trunk to provide good air circulation. The best mixture of mulch during spring is either wood chips or partially composted sawdust.
Fertilizer for Plum Trees
Fertilizing is an excellent way to replenish the nutrients in your soil, especially nitrogen. Nitrogen encourages green vegetative growth, which is exactly what you want to promote before your plum tree reaches its fruit-bearing years. Perform a soil test before planting to identify soil factors, such as pH that may cause certain nutrient deficiencies.
Nitrogen, phosphorus/phosphates, and potassium/potash are the “big” macronutrients plum trees need to grow normally. They are present in healthy soil, but may be added when soil is deficient. Nitrogen is the nutrient most used by growing plum trees. The main source of nitrogen is decaying organic matter. Signs of macronutrient deficiency in plum trees include reddish or pale colored leaves, narrow or shrunken leaves and dead spots on leaves.
WHEN TO FERTILIZE PLUM TREES:
In USDA Zones 8-9: Fertilize 2x a year— in early March and first of August.
In USDA Zones 6-7: Further north, fertilize 1x a year in March or after the buds break.
ALL USDA Zones: NEVER fertilize after August as this will start new growth too late in the year and lead to frost damage.
Chemical or organic, whatever you may choose, make sure that it contains iron, zinc, manganese, magnesium, molybdenum, copper and boron. These elements are crucial to the plants growth. Application rates may vary; see chart for guidance.
|
10-10-10 or 10-0-10 with minerals |
Newly planted: 1 cup of 10-10-10 in the early spring; mid-May and mid-July, apply a ½ cup of calcium nitrate or ammonium nitrate 2-12 years: Fertilize 2x a year 1 cup of 10-10-10 for each year of the tree (up to 12 years) in early March and first of August. In August, apply 1 cup of calcium nitrate or ammonium nitrate per tree year up to 6 cups for mature trees. Mature trees 12+ years: 1/2 cup of 10-10-10 in early March and first of August |
|
Espoma Citrus Tone (Organic) |
6 cups for 1 year old 10 cups for 2 year old (4-6 ft) 18 cups for 7-9 ft tree 24 cups for tree over 9 ft |
Water For Plum Tree
The first year is a critical time for your new plum tree. It has not had time to establish itself yet and therefore is not as strong as an older tree. To prevent the tree from dying, it must be watered 2x a week in light soil and 1x a week in clay soil. Be sure to soak the entire root system deeply, once every two to four weeks. This ensures that the soil is saturated down to the root line, but also has time to dry out a bit. For best growth and production, plum trees should receive at least one inch of water a week. During dry spells, water is mandatory. If not properly watered during dry spells, fruit may drop prematurely. Keep at least 4 feet around the plum tree clear of grass and weeds, for less competition for water.
Unless you’re in an area where irrigation is usually needed for normal plant growth, you probably won’t need to water after the first growing year. If summer brings about an inch of rainfall every 10 days or so, you won’t need to use the hose. But if it gets really dry, you can give your plum tree a thorough soaking.
Watering too much or too little can cause stress-related diseases, so always make sure you are checking for dry or waterlogged soil. It’s important to note that even if you’re in the midst of a brown-lawn drought, you don’t want to water too much. Once every 10 days or two weeks is plenty. Worse than dry, thirsty roots is waterlogged, drowning roots.

Pruning Plum Trees
To produce healthy fruit, plum trees will benefit from a yearly pruning. When planting, you need to select 3 or 4 scaffold branches spaced equally around the trunk and remove other branches flush with the trunk, if pruning has not already been done to the tree.
During the second dormant season, in mid-February to early March, start pruning by removing diseased, broken and low-hanging limbs. Next, to develop an open-center, vase-shaped tree, remove vigorous upright shoots that may have developed on the inside of the main scaffold branches. This will let the tree have good air circulation in the center of the tree. The tree shown in this image shows what a plum tree might look like at the end of the first growing season, and what it would look like after pruning in late winter. Plums are produced on wood that grew during the previous season.
Training of your plant should continue for the first 4 years. Pruning is designed to train the tree to grow outward. This is done by removing the strong branches and water sprouts growing in the center. Once the scaffold system of the young plum tree is established, prune as little as possible until the tree becomes mature enough to fruit, usually the third or fourth year.
For a mature tree, pruning should take place during its dormant season. Follow the same principles used after the second growing season. The objective is to open up the tree to allow sunlight penetration and air movement and to improve spray coverage. When the tree is well-grown, pruning consists mainly of moderate thinning and heading cuts back to outward-growing laterals to keep the tree low and spreading. A height of 8 to 9 feet is preferred.

European Plum vs. Japanese Plum
Both European (Prunus domestica) and Japanese (Prunus salicina) plums grow well in the U.S. and thrive in various soils and climates. Fruit ripens sometime between May and September, depending on the cultivar and the local weather. Expect Japanese plums to bloom and reach harvest slightly earlier. Maturity takes approximately 140 to 170 days for both types of plums.
Prune Japanese Plum Trees to a Vase Shape
Select and maintain three to five main scaffold limbs arising from the trunk to control the shape of the tree, as described above.
Prune European Plum Trees to a Central Leader Shape
European Plum trees do best when pruned and trained to a central leader tree. This type of tree has a pyramidal shape with a single upright leader limb as its highest point. This leader is the newest extension of a long, upright growing trunk from which all lateral branches arise. As with all strong growing branches, the leader should be headed at approximately 24-30” above the highest set of scaffolds branches. The uppermost bud on the leader produces a vigorous new leader, and no other shoot should be allowed to grow taller. Lateral limbs should be selected from shoots growing out from the central leader. These should be spaced vertically 4-6” apart, have growth that is more horizontal than vertical and point in different compass directions from the trunk. Any unbranched lateral branches should be headed back by approximately ¼ of their length to encourage side branches and to stiffen lateral branches. All laterals should have a wide branch angle.
Pollination Differences
Japanese plum trees are more likely than European varieties to require cross-pollination. Although most European plums are self-fertile, you will produce a better crop if you grow two or more varieties together, as long as they are in the same color group. Santa Rosa, a partially self-fruitful Japanese cultivar, is reputed to increase the yield of any other Japanese variety when the two cross-pollinate. No one European variety is preferred over another as a pollinator.
Fruit and usage comparison
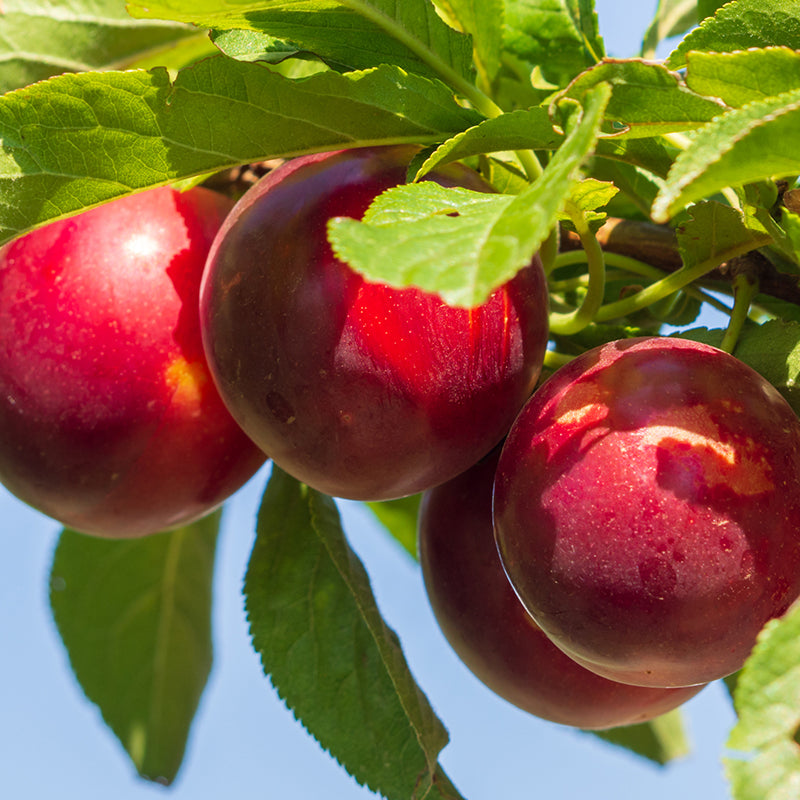
JAPANESE PLUMS
More common than its western cousin, Japanese plums can be found year round but peaks during the summer months. This variety is recognizable by its dark red to blackish skin and hearty texture. They’re also clingstone fruits (meaning the flesh “clings” to the pit), while European plums have freestone pits. Flavor wise, Japanese plums are known for their mild sweetness and slight astringency.
Shelf Life: 3-4 weeks after harvest; Best Served: Fresh and in tarts
EUROPEAN PLUMS
Sometimes marketed as “sugar plums” or “fresh prunes,” European plums are champions of baking and drying. They’re typically sweeter and more versatile than their Japanese counterparts, but are much more delicate, as they only store for a week or two. When searching for this variety, look for light colors. Yellow is the most common, but you may see purple or pink skin. For a supremely sweet baking plum, search for the Mirabelle variety, as its widely considered to be the sweetest of all plums.
Fun Fact: While the vast majority of European plums are freestone, a few select types (like Greengage) have clingstone pits!
Shelf Life: 1-2 weeks after harvest; Best Served: Cooked and in plum pudding

Shop our collection of plum trees and have them shipped right to your door!