

Want to add pear trees to your yard?
Shop our collection of pear trees and have them shipped right to your door!
When picking a location for your tree, try to find a well-drained area with sandy loam soil. It is also very important to keep your tree in full sunlight as this will allow them to grow vigorously, and ultimately, produce the best fruit. Be careful to avoid frost pockets when planting as these will damage your fruit.
Most pear trees are self fertile but you will get a larger crop if you plant another pear tree next to it. Pear trees also require chill hours to produce fruit. If your tree does not get either of these elements it will fail to produce an edible crop. Please refer to each pear tree product for pollination and chill hour requirements specific for that variety.
Depending on the landscape, and what your uses may be for your pear trees, try spacing them 15-20 feet apart. No more than 20 feet to ensure the trees cross pollinate.
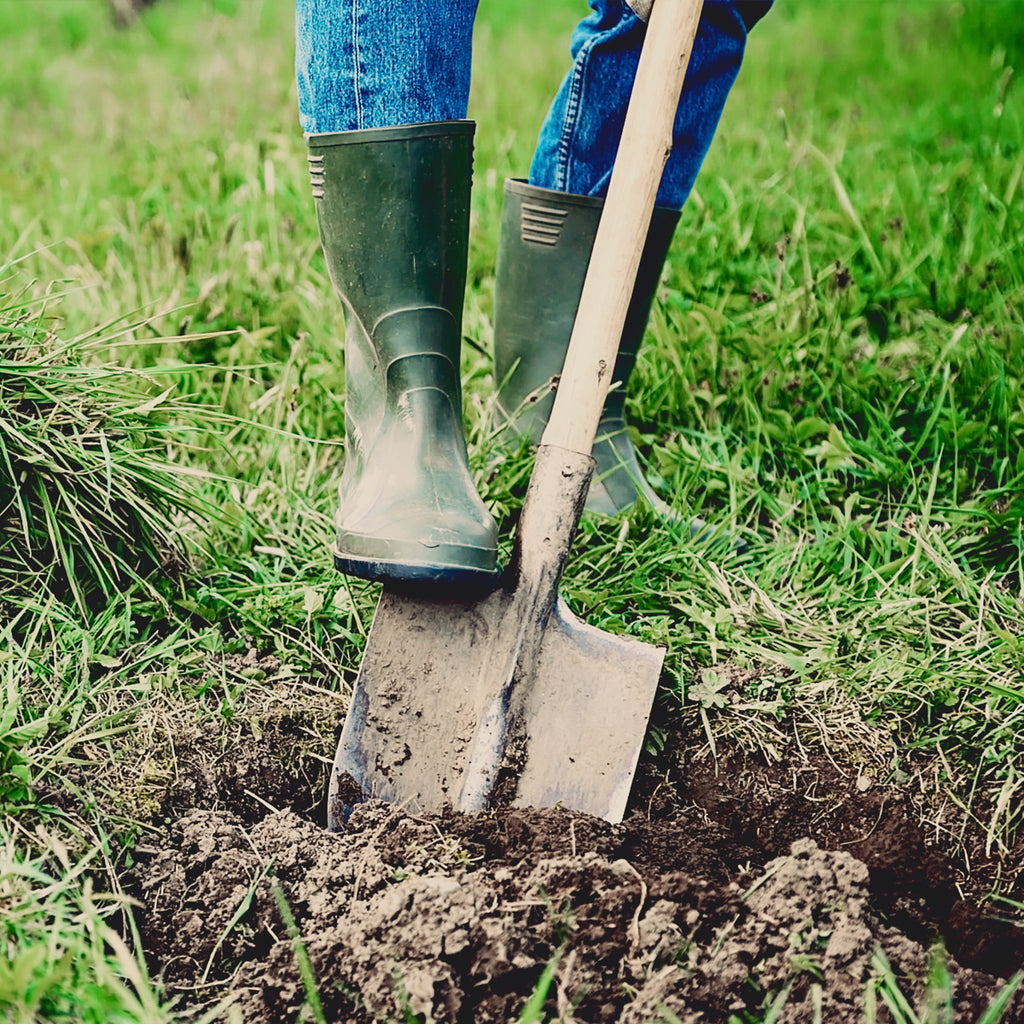
It’s time to start digging! First, you will need to dig a hole three times the width of the size of the pot, and just as deep as the root ball. The dirt that you have taken out of the hole should be well mixed 50/50 with aged mushrooms compost, rotten pine bark, aged manure or compost.
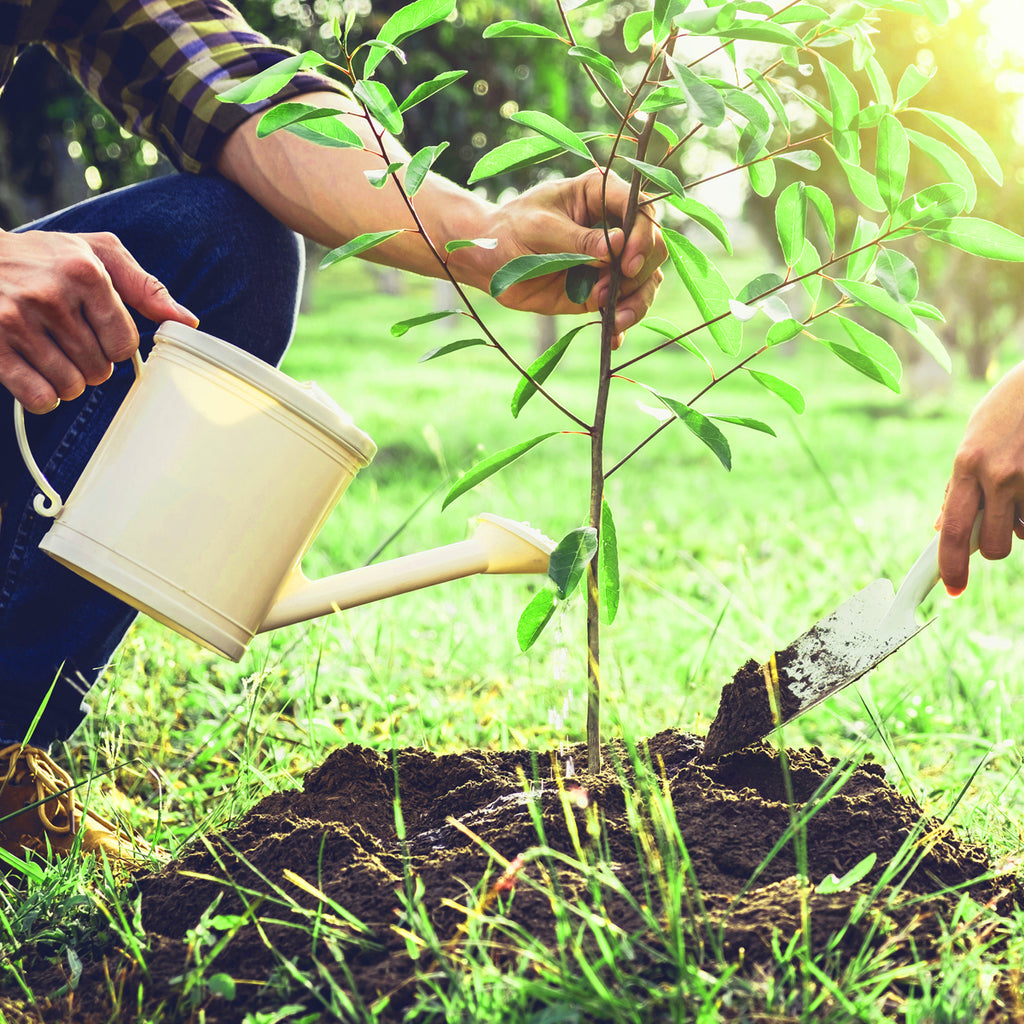
When you remove the plant from the pot, be careful not to hurt the root ball, and gently place it into to your fresh dug hole. To avoid burying to deep, make sure your plant is positioned with the top most roots at the soil line. Once your tree has been placed in the hole, start filling it in with the 50/50 mix, and push lightly to pack it in.
Your pear tree should be watered thoroughly for the roots to settle and to eliminate air pockets. The best soil for pear trees is slightly acidic (pH 5.9-6.5). A good way to find out the acidity of your soil would be to take a sample to the Cooperative Extension agent near you, for testing. You can also buy an at-home kit at most garden centers. Fertilizer should only be applied at correct times of the year. DO NOT PUT FERTILIZER IN PLANTING HOLE!
To ensure optimal growth the first year, please provide a 4 foot diameter weed and grass-free area around the tree. This will provide a water basin and minimize grass/weeds from taking water and nutrients from the tree. During spring and summer, 4-6 inches of mulch should be placed a few inches away from the trunk to provide good air circulation. The best mixture of mulch during spring is weed- free hay and compost. During summer time try a mixture of grass clipping, and weed-free hay.
No matter what type of fertilizer you choose (chemical or organic) make sure that it contains iron, zinc, magnesium, molybdenum, copper and boron. While these minor details may seem unimportant to you, your pear tree's growth and production depends on it.
Be sure to evenly spread fertilizer under the entire canopy of your tree, avoiding a 5 inch area closest to the trunk. After fertilizing, be sure to water your tree. Depending on the age of your plant, application of the fertilizer should be adjusted.
WHEN TO FERTILIZE PEAR TREES:
In USDA Zones 8-10: Fertilize 3x a year— in late February, late May and late July/early August.
In USDA Zones 6-7: Further north, fertilize 1x a year in March or after the buds break.
ALL USDA Zones: NEVER fertilize after August as this will start new growth too late in the year and lead to frost damage.
|
10-10-10 or 10-0-10 with minerals |
1 cup for each year of tree’s life -Max out at 9 cups for mature tree |
|
Espoma Citrus Tone (Organic) |
6 cups for 1 year old 10 cups for 2 year old (4-6ft) 18 cups for 7-9ft tree 24 cups for tree over 9ft |
During the first year, the tree is considered newly established, meaning it is very critical for your plant to be watered. On light/sandy soil water 2x a week, but on clay soil 1x a week will do. When watering your tree be sure to soak the root system entirely. Whether you have a sophisticated automatic irrigation system, or are just using a watering can or bucket, it is better to water periodically and allow the soil to dry out a bit between waterings. Fruit trees do not expect to be growing in perpetually wet soil. Over-watering can be just as harmful as lack of watering. Always take rain water into account before deciding to water your tree by hand/irrigation.
Once the tree is established, it should receive at least one inch of water each week. After the first year you don't need to be quite as vigilant as the tree will have established its root system. As a rule of thumb the period when fruit trees need most water is just before, during, and just after the blossom period (about 6 weeks in total) and in the period leading up to the harvest. Water regularly, especially during dry spells. Lack of rain/water can cause fruit to prematurely drop if not well irrigated during the dry spell.

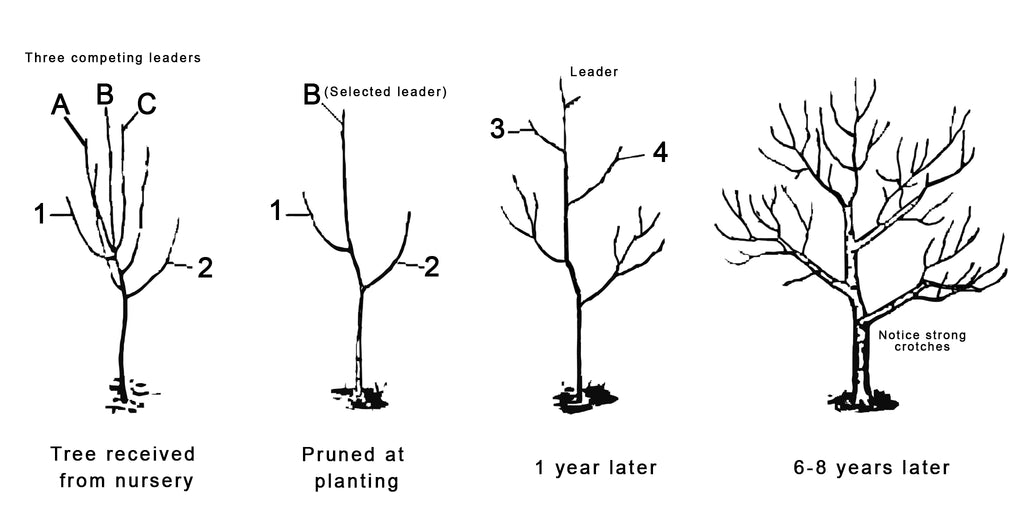
The pear tree's natural tendency is to grow upright, creating narrow V's that tend to break under heavy fruit loads. To avoid this, early training of your tree, to an open center habit, is crucial. When planting, select 3-4 scaffold branches spaced equally around the trunk and remove other branches flush with the trunk. If your new tree has plenty of branches, remove those that are less than 18 inches (45.5 cm) from the ground and those with crotches of less than 60 degrees. The tree must have good air circulation in the interior. Pruning should continue for the next five years to train the tree to grow upward and outward by thinning out crossing limbs.
As a young pear tree grows, the main stem of the plant should always be taller than the surrounding branches. Pear tree branches naturally grow upright, but the branches spread as it begins to bear fruit. The weight of the fruit pulls the branch down into a more horizontal position. You can help this process by pulling the branch down and tying it to a stake in the ground with twine. Pad the twine that encircles the branch to avoid damage. If you can't achieve an angle of at least 60 degrees between the branch and the trunk of the tree, then remove the branch.
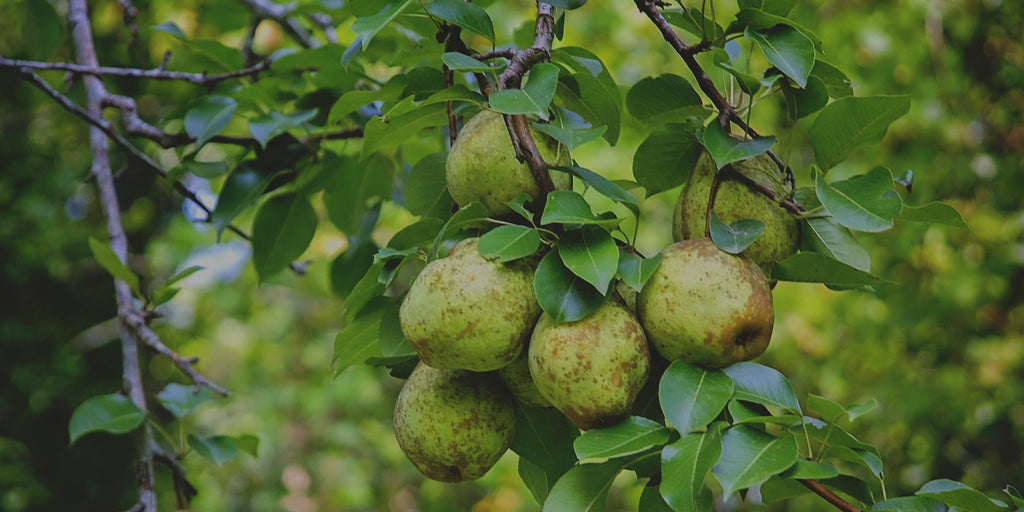
Once your tree has reached maturity, it should only be pruned during its dormant season. The branches should be thinned out and cut back long shoots as needed to maintain tree shape. Remove the water sprouts (suckers). If left unpruned the tree will start to get bushy and lack vigor, therefore producing small fruit and inferior quality pears. While pruning, remove any dead, damaged, or diseased branches. Head trees back with mold and hold cuts to maintain height for ease of picking.
Remember that pruning does not hurt the tree, but encourages new growth and creates a stronger, more vigorous specimen to grow quality fruit. Not every tree will be shaped the same and no one person prunes the same way. Also keep in mind, the unpruned tree may not be fruitful or grow well at all.
Prune bearing trees to maintain a balance between vegetative growth and fruit production. The first three years should be spent on training only, but by the fourth and fifth years, the trees can be allowed to produce a light crop.
Pruning bearing trees is critical to maintain healthy fruiting wood. Remove weak, “shaded-out” wood, diseased or dead wood, watersprouts and suckers. Control tree height by cutting back the top portion of the tree to weak lateral branches.
Summer pruning is advised, especially for removing waterspouts, rootsuckers and fire-blight-infected wood. Summer pruning can also be used during the first three years of tree training to produce the desired tree shape. Undesired growth should be removed in early summer or after harvest between late August and early September. Also, note that pruning should be focused on thinning out rather than heading-back cuts.
Shop our collection of pear trees and have them shipped right to your door!


